Unityレッスン オブジェクトを動かそう
- 守谷シゲ

- 2018年6月10日
- 読了時間: 2分
ウィリアムテルでUnityを使ってはじめてゲーム開発をしました。今後もUnityでのゲーム開発をしていきたいと思っているので、Unityを習得するために簡単なゲームを作って行きたいと思います。
それがこの連載記事、Unityレッスンです。
Unityレッスンでは簡単なステルスゲーム(かくれんぼゲーム)を作っていきます。
今日のレッスンは「オブジェクトを動かそう」です。
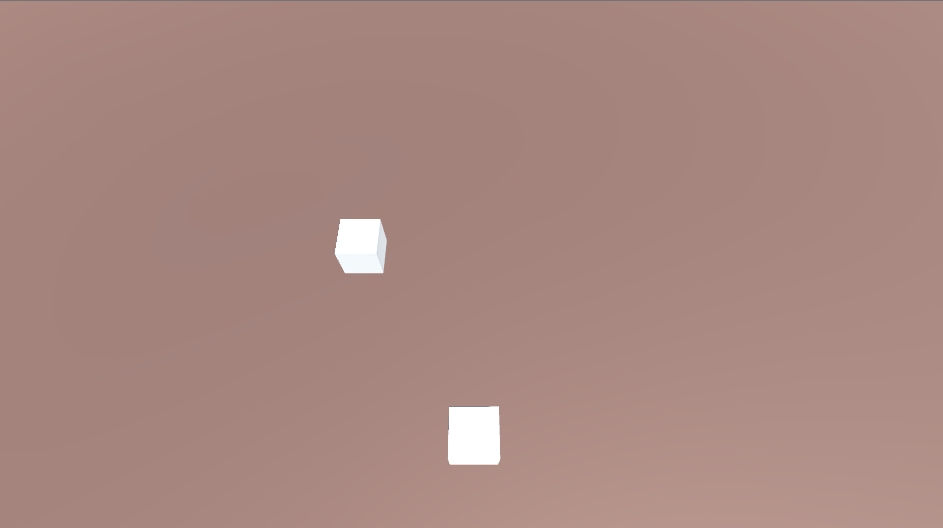
Unityで3Dプロジェクトで新規プロジェクトを作成し、とりあえず箱を一個置きます。
箱にCharacterControllerをアタッチする
置いた箱にCharacterControllerをアタッチします。
Add Component をクリックして Physics > CharcterController でアタッチできます。
箱をCharcterControlloerで動かそう
置いた箱に新規スクリプトCube.csをアタッチしましょう。
Add Component をクリックして New Script で Cube.cs とスクリプト名を入力します。
すぐにCube.csを開いて以下のようにコードを書きましょう。
using System.Collections;
using System.Collections.Generic;
using UnityEngine;
public class Player : MonoBehaviour {
float speed = 3.0f;
Vector3 moveDirection = Vector3.zero;
CharacterController characterController;
// Use this for initialization
void Start () {
characterController = GetComponent<CharacterController>();
}
// Update is called once per frame
void Update () {
moveDirection = new Vector3(Input.GetAxis("Horizontal"), 0, Input.GetAxis("Vertical"));
moveDirection = transform.TransformDirection(moveDirection);
moveDirection *= speed;
characterController.Move(moveDirection * Time.deltaTime);
}
}
キーボードのカーソルキー、WASD、ゲームパッドのスティックなどで箱を動かせます。これは Input.GetAxis(axisName) で入力を取得しているからです。
動く箱にカメラを追従させよう
今のままでは箱は動きますが、動かしているとそのうちカメラに映らない位置に行ってしまいます。
動く箱にカメラを追従させましょう。
TPSであれば、以下のURLを参考にAssetからカメラを追加するだけで良いです。
コード不要!UnityのカメラをPlayerに追従させる方法
http://freesworder.net/unity-camera-following/
今回は上空からの見下ろし視点(俯瞰視点)で作りたいので、上記URLの方法ではなく自分でカメラを動かす方法にします。
箱に Player という Tag をつけておきましょう。 Player という Tag はデフォルトで用意されているので選ぶだけです。
Main Camera に 新規スクリプトをアタッチします。スクリプト名は CameraControl としましょう。
using System.Collections;
using System.Collections.Generic;
using UnityEngine;
public class CameraControl : MonoBehaviour {
GameObject player;
Vector3 offset;
// Use this for initialization
void Start () {
player = GameObject.FindGameObjectWithTag("Player");
// カメラと主人公の位置の差分を offset に保存しておく
offset = transform.position - player.transform.position;
}
// Update is called once per frame
void Update () {
Vector3 newPosition = transform.position;
newPosition.x = player.transform.position.x + offset.x;
newPosition.y = player.transform.position.y + offset.y;
newPosition.z = player.transform.position.z + offset.z;
transform.position = Vector3.Lerp(transform.position, newPosition, 5.0f * Time.deltaTime);
}
}
これで箱を動かしつつ、カメラも追従してくれるようになりましたね。今日のレッスンはここまでです。
次回予告
今回は主人公を動かしたので次回は敵を動かしてみましょう。
参考
Unityでキャラクターを移動させる方法【3D編】
http://tama-lab.net/2017/05/unity%E3%81%A7%E3%82%AD%E3%83%A3%E3%83%A9%E3%82%AF%E3%82%BF%E3%83%BC%E3%82%92%E7%A7%BB%E5%8B%95%E3%81%95%E3%81%9B%E3%82%8B%E6%96%B9%E6%B3%95%E3%80%903d%E7%B7%A8%E3%80%91/
コード不要!UnityのカメラをPlayerに追従させる方法
http://freesworder.net/unity-camera-following/
Playerに追従するカメラ
https://qiita.com/valbeat/items/bab5cb649fe0cf6756d4
コメント